Monday, September 1, 2014

Back to school...


It's back to school time for all the little and not so little ones.  Class schedules, afterschool activities, lots and lots of homework, sports, cheerleading and early mornings again.  Those were the days... sorry, got lost in memories!
 
Watch out for the school buses on the road again, keep an eye on all the kids out there, let's keep our youth, our future safe.  They say it takes a village, and it's a BIG village out there!
 
It's the end of summer vacation and hopefully the end of the HOT days.  I'm looking forward to cooler days, crisp nights, harvesting the fruits of our labor in our gardens and sweaters and socks, and oh I LOVE socks... I love fall it's my favorite season! 
 
 
Hugs,
 
                         Pendra


Sunday, August 31, 2014

Happy Labor Day


 photo 15.gif
 
Have a safe and happy day with your families!!


Hugs,
 
                            Pendra

Friday, June 6, 2014

Sneak Peeks... Sewing / Yarn Room makeover and a Chalkboard Project

I've been so busy on my new (old) house.  This is a split level home with a full finished basement with four large rooms.  I love that the windows are at a main level so you don't feel like you are in a basement! 


And of course, it was wallpapered... of course!!!  The paper wasn't too bad for a country look, but I wanted to go more for a cottage feel so I decided to paint it in a soft green, with blue undertones.  It's Dutch Boy paint with the primer right in it, called "Breakers" and it turned out even prettier than I hoped!


It's a large room and has a wood checkerboard patterned floor.  My sister gave me a beautiful new sisal rug and it fits perfectly in the room... can't wait to show you!


I LOVE to quilt, another love my Mother shared with me.  I also like to crochet and knit... yup, from my Sister, so this room should really be called a "Family Room".


So I need to have a lot of storage for my fabric Scrappy Pacs and lots of yarn, what better than a gorgeous shelf from Ikea... and yes, it came from my beautiful Daughter!  See what I mean by Family Room!!


I'm on the hunt for "Cottage" curtains or fabric to make curtains... it's got to be perfect for my new Sewing/Yarn room.  I have a beautiful craft room on the upper level which is coming together also, but not ready for company yet.  I'll be sharing more as these rooms come together... soon!  

And I just had to leave you with one more Sneak Peek.  Can you guess what it is and what room it's for???  Just another project to share the details with you very soon.


Hope your Summer is wonderful and that you are making beautiful memories!
 
 
                                                                  Hugs,
 
                                                                              Pendra


Saturday, April 5, 2014

From one day to the next...

Happy Spring...

 The view from my backyard two days ago, it's lovely with all it's grass showing.
I went to get a drink during the night and this is what I saw...


 *UGH*
 
 
By morning this I what I woke to, about 10" of fresh snow...
Apparently it's a very HAPPY Winter! 
 
Will it ever end?
 
 
                                                    Sn*wy Hugs,
 
 
                                                                         Pendra


My little french stool makeover...

As usual in my rush to makeover this poor, broken down, tired old stool, I didn't take a before picture. ~*ugh*~  But I think you can get a pretty good idea of what she looked like before, she had a very beat up loved old wood bottom and her top was a dirty, slightly torn tapestry in mauve pink and wedgewood blue... don't get me wrong she was a beaut in her day, but her day had come and gone!

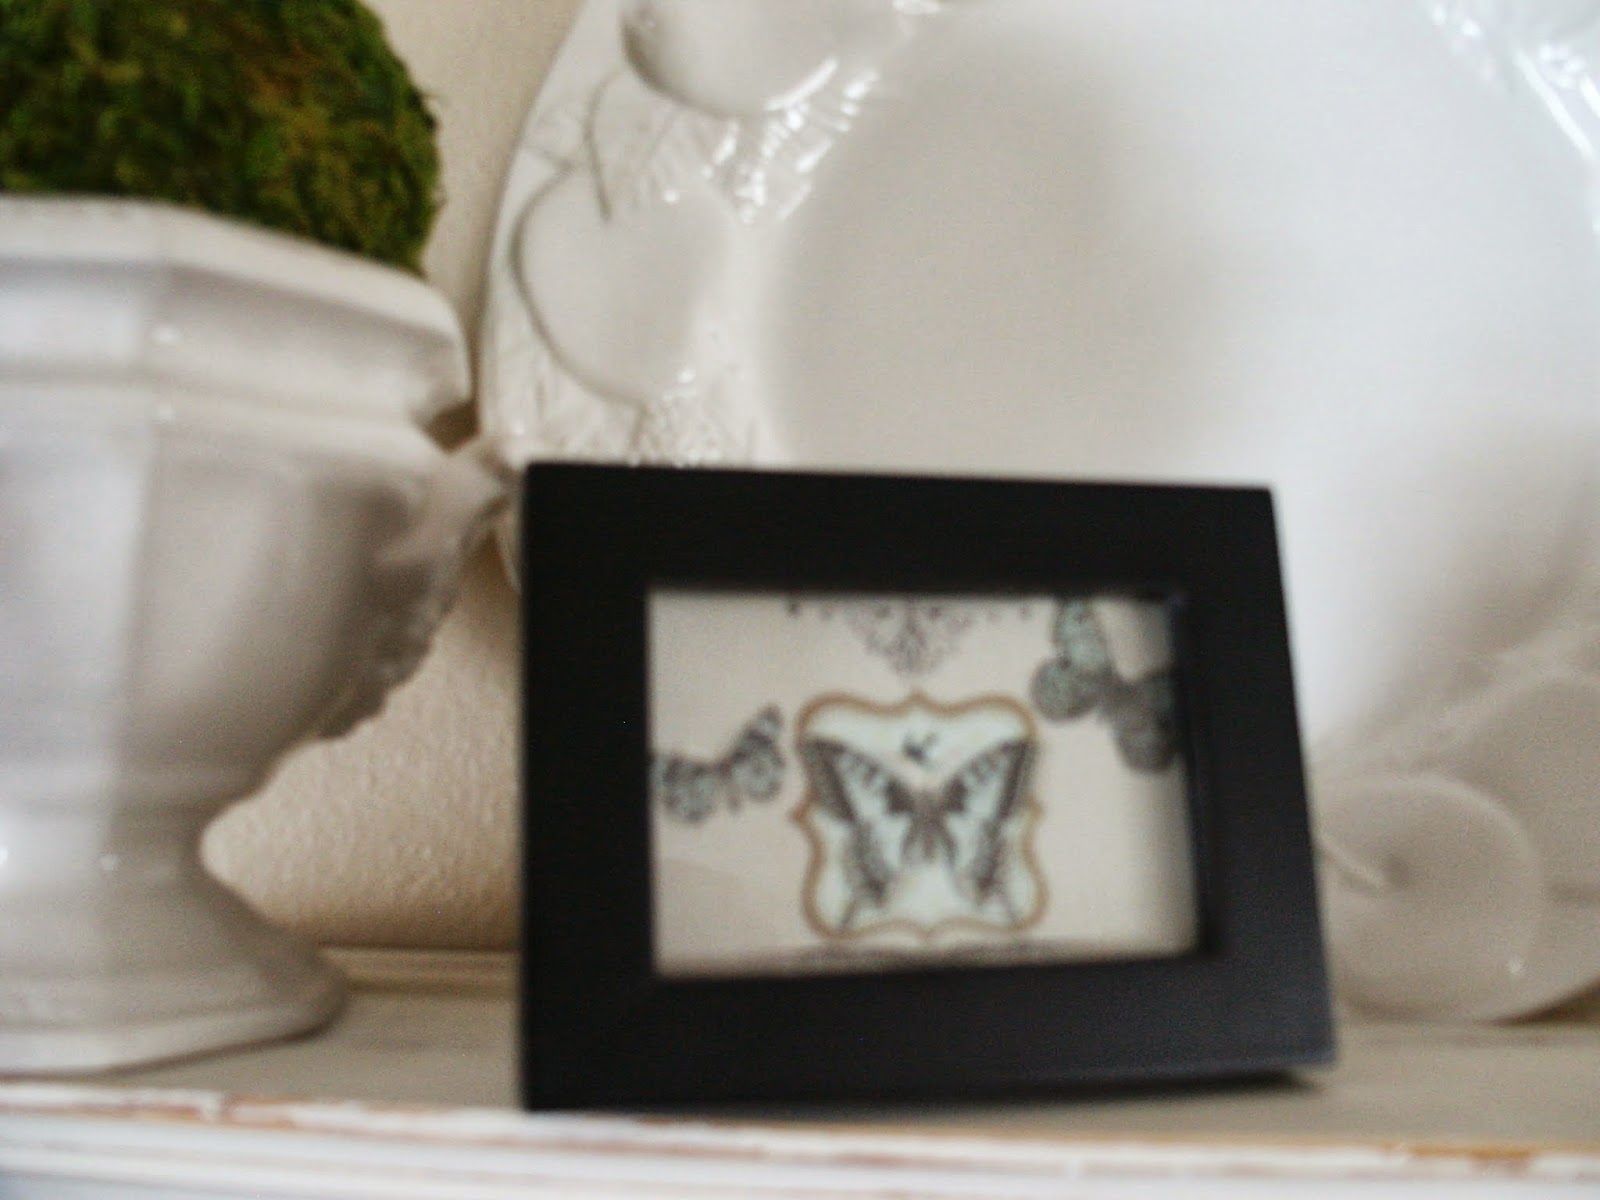
I started with a graphic I found at The Graphics Fairy, Karen's site is full of FREE graphics and printables.  I visit her site everyday, to see what wonderful, beautiful goodies she has added.
http://thegraphicsfairy.com/image-transfer-printable-french-toiles/
 Using Lesley Riley's Tap, Transfer Artist Paper, I printed the graphic (in reverse) onto the paper.  After giving the ink time to dry I cut the paper as close to the image as possible.  I washed, dried in the dryer using NO fabric softener and ironed my fabric and then cut it about 2 inches larger than the lid.   I carefully centered the  paper image onto the fabric, ink side down and ironed it following the directions on the TAP.


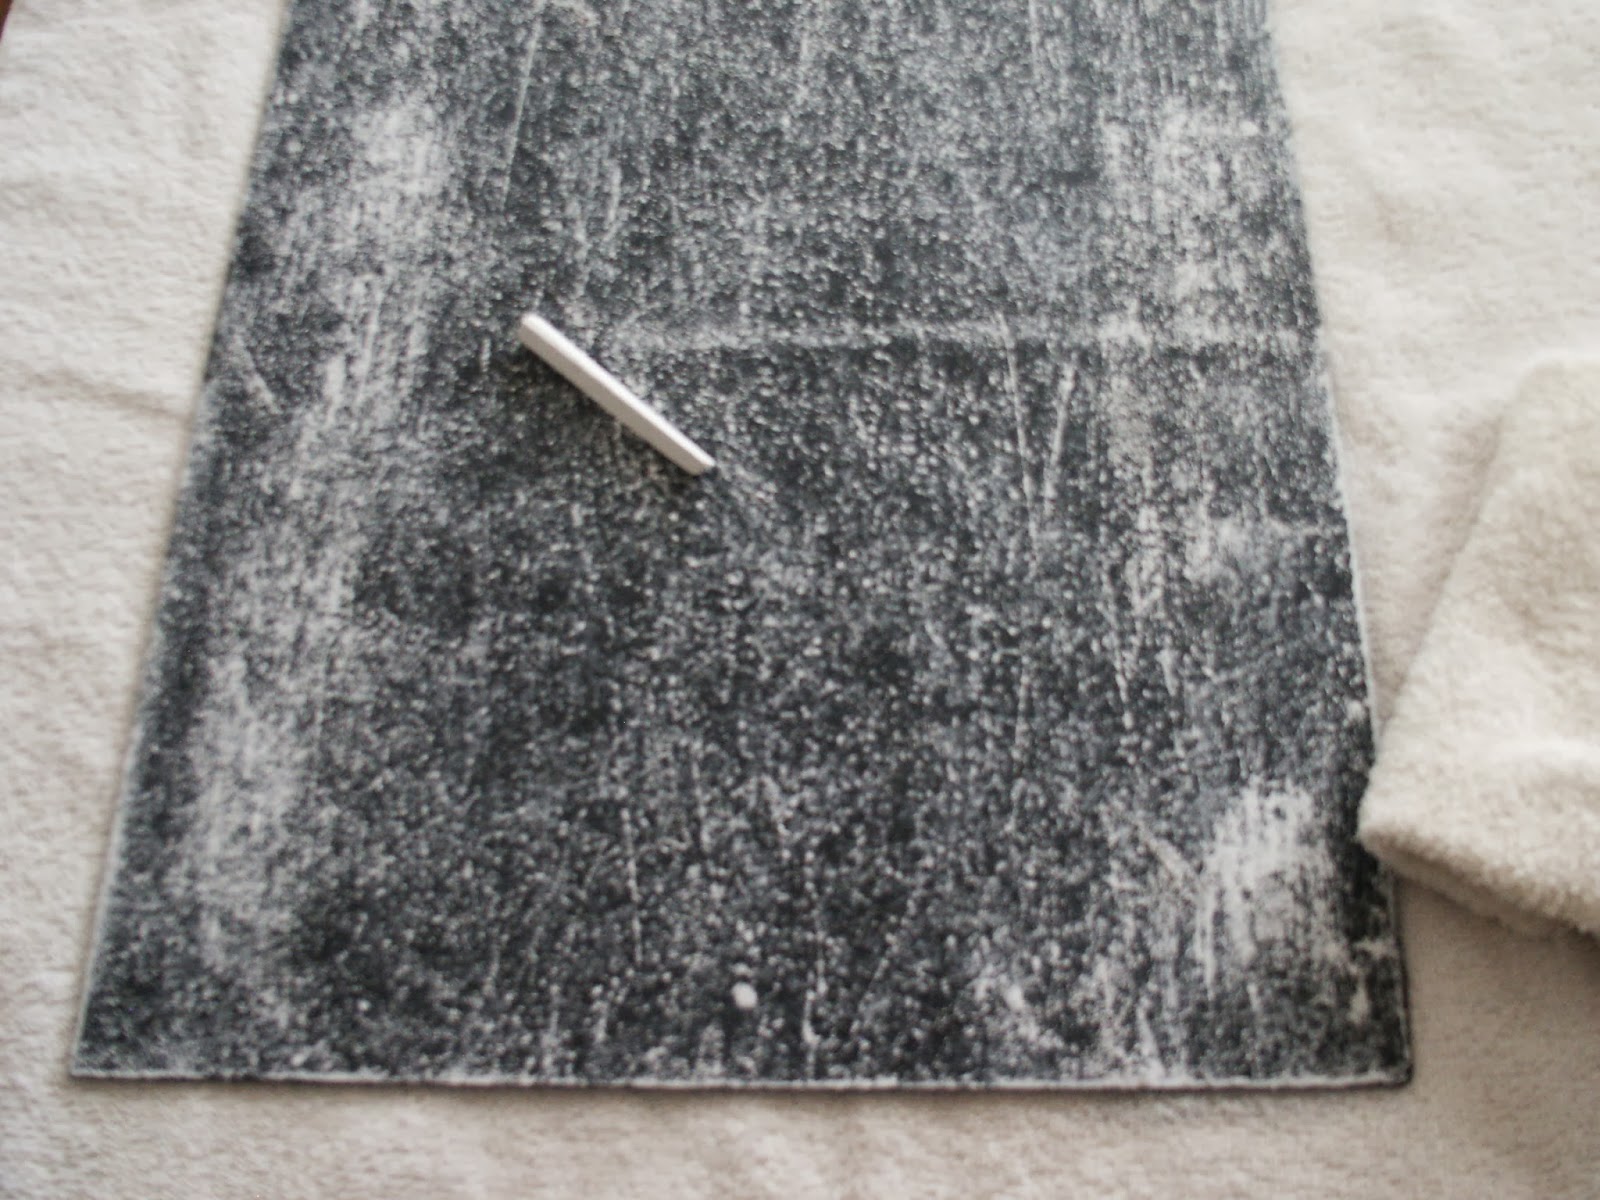
Next, I unscrewed the hinges from the lid of the stool and laid back down the original foam and also a layer of cotton batting.


I cut the cotton batting just slightly larger than the lid of my stool.


I centered my fabric, making sure the graphic was centered and placed it onto the lid exactly where I wanted it to be and got out my heavy duty stapler.  With a little tension, pull the fabric to the back and in the center of all four sides I started stapling, working my way out on each side evenly as I go.


After I finished the stapling, I got out my glue gun and cut a piece of fabric that fit inside the lid making sure it is large enough to cover all the staples.


I used a knife to flatten out the hot glue under the fabric as I went... hot glue is really HOT!


Then I hot glued on some trim around the edges of the fabric to leave a clean finished edge.


Here's a close up view... then I re-attached my hinges to the lid.


When I started, the body of my little stool was stained wood, and it was really beat up loved.  So I mixed up a little Plaster of Paris powder into a flat white paint ( you can use your acrylic craft paint or latex interior paint) and painted the entire body.  The beauty of mixing the Plaster of Paris into your paint is you DO NOT have to sand the wood prior to painting it.  After it dried I sanded it to make it look beat up loved again.


I then re-attached the lid to the body.


Looks good, but I think it needs more...


So I got out my glue gun and my drill...  and glued on some more trims and drilled a hole and attached a little porcelain handle onto the front of the stool.


Looking pretty good now.


And here she is in my dining room, showing off her new look!


My little French stool makeover, looking pretty good...


                                                                            for a beat up very loved old stool!


Well, I've some housework to do... it really does get in the way of my fun!!


                                                             Hugs,

                                                                                  Pendra


Submitted to:
~The Graphics Fairy Reader Submissions
~Be Inspired at Common Ground
~Funky Junk's Party Junk
~ Chic by you Wednesday
~Thistlewood Farms Makeover Madness
~Homeroad Repurposed and Reloved Junkers Linkup


Saturday, March 22, 2014

On a Butterfly Wing and a Spring Prayer

I am SO DONE WITH WINTER... we just had another 5 inches of snow a few days ago.  Thursday was the first day of Spring... will it ever get here???  To be honest with you, half my back yard has grass (what a tease) and the other half is still a good 2 feet under snow and ice.  I go to bed every night and hope and pray that tomorrow I will wake to Spring in full bloom.  Well, if I can't have it outside, I can certainly have it inside.  So I got out a few paper supplies and hit my "To Do Pile" again and got at it!


I had some really great Butterfly paper in many different sizes, so I started cutting. I had two black frames, one had a perfect mat with four cutouts, the other was smaller and perfect for what I wanted.  I liked the black frames, so no need to paint... I like that too!


After cutting out my butterflies, I picked out background paper and started assembling my groupings.  On each grouping I cutout extra's of a few of the butterflies and folded the wings to give them some depth.  I also got out some stamps and ink and stamped on the mat to give it a little character.


Sorry this is so blurry, but I wanted to show you the depth by folding the wings up a little.


With all the white stoneware I just could NOT get a good enough photo to show you the way the folded wings looked over the top of many layers in the background.


They look so beautiful with my white stoneware, sitting on top of my Arc Value Village shelves I purchased.  One shelf was black and the other was wood, but you would never know after I gave them a coat of white flat paint mixed with some Plaster of Paris.  Once they were dry I gave them a good sanding to let some of the wood underneath show through.


 Here they are in my dining room, and as you can see a little bit of Spring is starting to make an appearance here...


                                            now if only old man Winter would take his leave!


I've been working on MANY projects lately, including the little stool here in front of this chair.  I started it last Summer/Fall and it has evolved and I finally finished it... I'll share that with you in my next post. 


We also had many layers of wall paper in the foyer, that went from this...


                                        to this...


to this!  I'll share more of this to come as well, it's still a work in progress!


I think the "green" half of the back yard has lifted my spirits and with a Wing and a Prayer, my inside is starting to look like Spring and my "TO DO PILE" is finally making an appearance again, and shrinking!!  I hope that your "green" is making an appearance... 
 
 
                                                       Happy Spring Hugs,
 
 
                                                                                         Pendra


Friday, January 24, 2014

Framed Boxwood Chalkboard Stenciled... whew that's a mouth full!

Recently I received a beautiful boxwood wreath from my dear friend Holly at Down to Earth Style and I had to do something special with it in my new "old" house...  if you are looking for creative DIY ideas please check out Holly's site, you won't be sorry!

 I started with an old Oak frame, a can of Rust-oleum Chalk Board paint, a stencil from Martha Stewart,  a piece of burlap and a pack of Crayola white chalk.


 I was lucky that the back board inside the frame was a smooth board, so I just flipped it over and gave it a very light sanding and wiped it down well.  I then took it outside and gave it a couple of light coats of the chalkboard paint.


 Let the paint dry thoroughly (I let it dry overnight) and then took a piece of white chalk and laid it on the side and covered the entire board in a coating of chalk.  Do NOT use the tip of the chalk, use it on it's side for this step!


Take a clean dry rag and give it a light wiping, you do NOT want to remove all the chalk as this is the base and you want to leave some residue so that whatever you do on top will not be permanently left on it.  I might want to change it out with the Seasons.


I then laid my stencil on top of the board and with the tip of the chalk and light pressure I just followed the lines of the stencil.  And then lightly colored it any areas inside the tracing.
 
 
  When I was happy with my stenciling I put the board back into my beautiful old oak frame.


It looks great, but not done yet...

 I took a piece of burlap and folded it through the boxwood wreath and hung it on the nail behind the frame. 

I looks great but not done yet...


  I put an old jewelry pin through both layers of the burlap right above the wreath... I have a beautiful BIG crystal snowflake pin there for the Holiday's and think I will leave it for the rest of Winter... I think it's very appropriate for Minnesota Winters!!!  I'll have to go through my jewelry stash for the other seasons.

I also hung a gold glittered ornament behind the wreath for the Holidays.  I love that by keeping a simple background I can change out this beautiful chalkboard for the Season's or events very easily.  I think it came out beautiful and everyone who comes in the door goes right to it and are always surprised that it is a chalkboard and that I did it myself!

Thanks again Holly for my beautiful handmade boxwood wreath and for all your creative inspiration while I DIY/ repurpose, and decorate my new "old" home, one project at a time.


                                                                        Hugs,

                                                                                   Pendra

p.s.  I've been working on some old frames that I'm re-doing with scrapbook papers and an old stool is getting a new re-do... hope to hear from you all soon!


Leelou Blogs