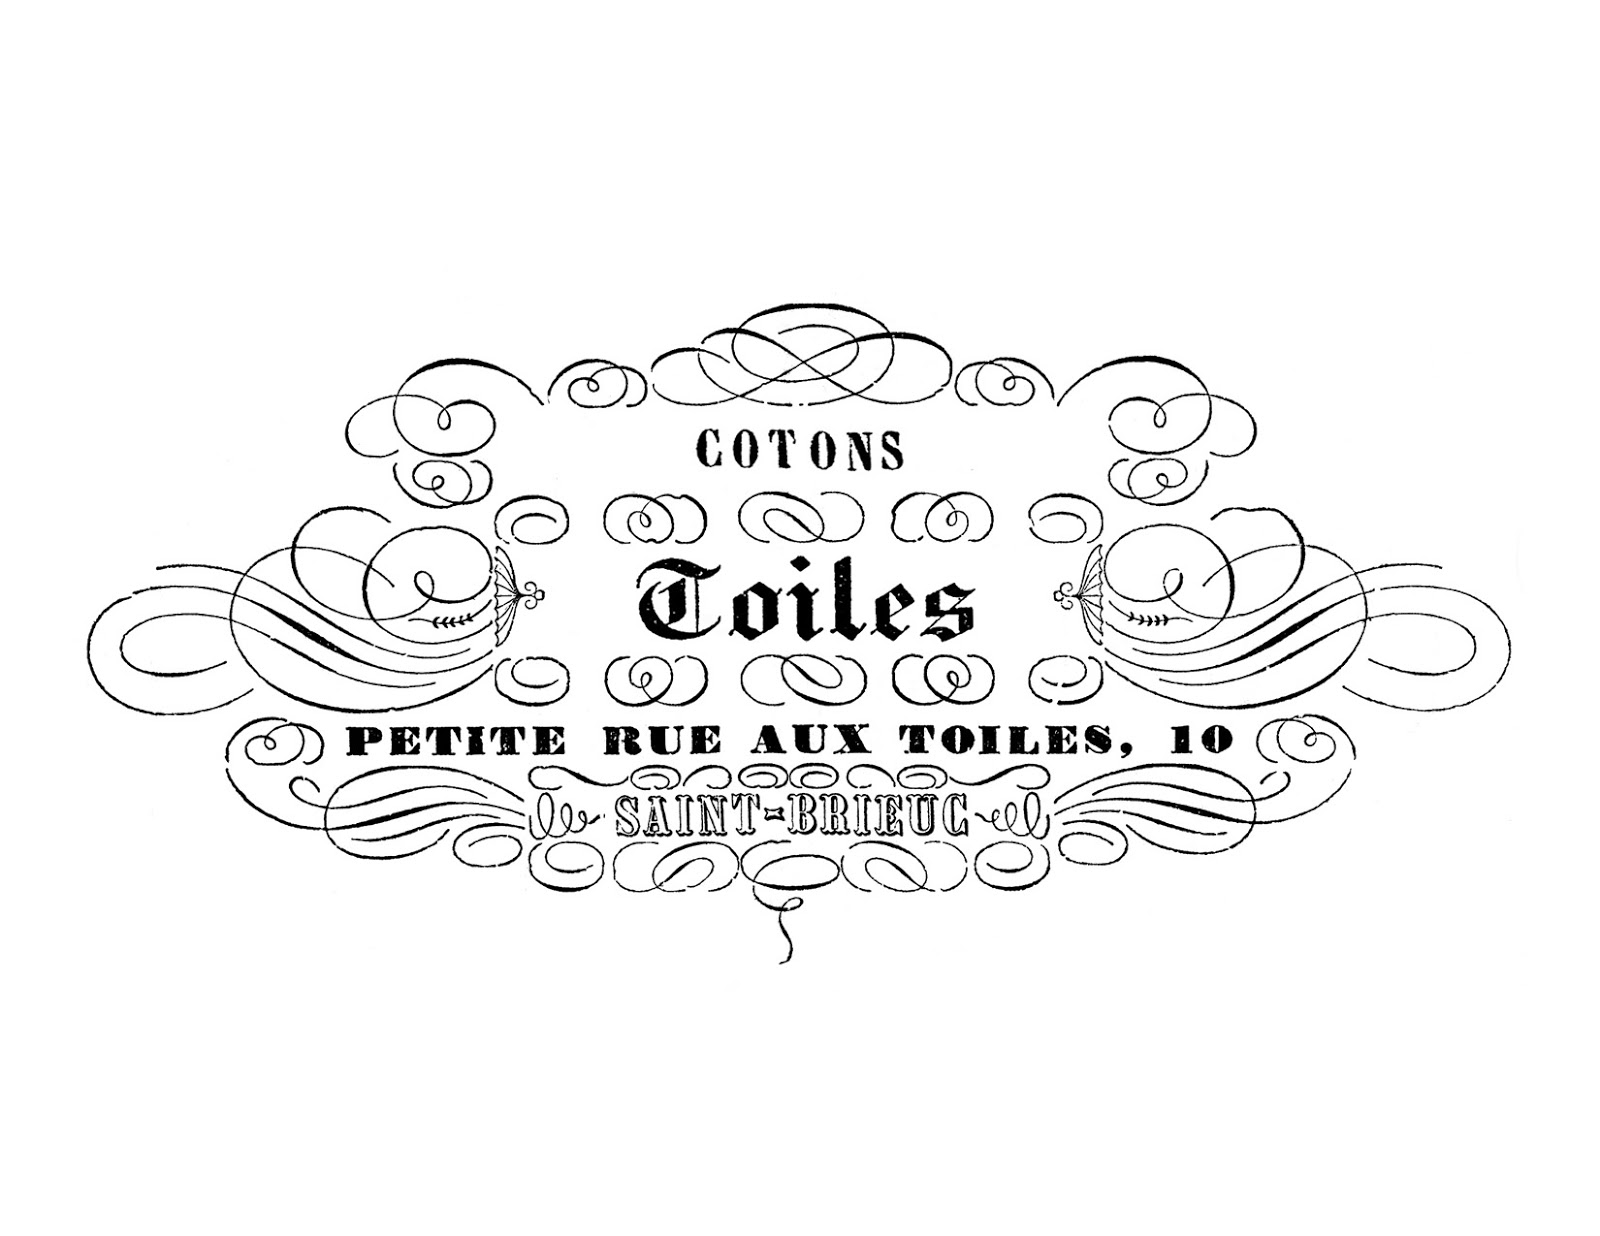
I started with a graphic I found at The Graphics Fairy, Karen's site is full of FREE graphics and printables. I visit her site everyday, to see what wonderful, beautiful goodies she has added.
Using Lesley Riley's Tap, Transfer Artist Paper, I printed the graphic (in reverse) onto the paper. After giving the ink time to dry I cut the paper as close to the image as possible. I washed, dried in the dryer using NO fabric softener and ironed my fabric and then cut it about 2 inches larger than the lid. I carefully centered the paper image onto the fabric, ink side down and ironed it following the directions on the TAP.
Next, I unscrewed the hinges from the lid of the stool and laid back down the original foam and also a layer of cotton batting.
I cut the cotton batting just slightly larger than the lid of my stool.
I centered my fabric, making sure the graphic was centered and placed it onto the lid exactly where I wanted it to be and got out my heavy duty stapler. With a little tension, pull the fabric to the back and in the center of all four sides I started stapling, working my way out on each side evenly as I go.
After I finished the stapling, I got out my glue gun and cut a piece of fabric that fit inside the lid making sure it is large enough to cover all the staples.
I used a knife to flatten out the hot glue under the fabric as I went... hot glue is really HOT!
Then I hot glued on some trim around the edges of the fabric to leave a clean finished edge.
Here's a close up view... then I re-attached my hinges to the lid.
When I started, the body of my little stool was stained wood, and it was really
I then re-attached the lid to the body.
Looks good, but I think it needs more...
So I got out my glue gun and my drill... and glued on some more trims and drilled a hole and attached a little porcelain handle onto the front of the stool.
Looking pretty good now.
And here she is in my dining room, showing off her new look!
My little French stool makeover, looking pretty good...
Well, I've some housework to do... it really does get in the way of my fun!!
Hugs,
Pendra
Submitted to:
~The Graphics Fairy Reader Submissions
~Be Inspired at Common Ground
~Funky Junk's Party Junk
~ Chic by you Wednesday
~Thistlewood Farms Makeover Madness
~Homeroad Repurposed and Reloved Junkers Linkup


1 comment:
Pendra,
It looks so cute. I love the fringe you added too. It just finishes it so nicely. Hey girl you are one of the winners of my giveaway so email me your address so I can get your gift to you.
Have a great start to the new week.
Kris
Post a Comment